Showing posts with label silhouette SD. Show all posts
Friday, October 25, 2013
A Butterfly Thank You
This card was made using another die that I got at the Craft Fair/Convention in Arlington. The place was packed full of all sorts of goodies but this one called to me the most. Never thought I would say it but I think I'm in love with butterflies. For the most part the butterflies have to call to me, so I don't just any old butterfly it has to have some characteristics that fit into my world of butterflies. This card was made in Thanks to the Headquarters of work and their understanding about me being sick and needing time off to recuperate. I never thought that I would be able to do something so cool, but I must say it is pretty dang cool. I just LOVE, LOVE, LOVE this die. I have looked for more dies by this maker but I can't seem to find the cellophane bag that it came in to look at their site and see what else they had/have in the realm of butterflies.
This card was all about layers. I think there were at least three layers on the front of the card and I think the same amount on the inside they just didn't "pop" off the page like the other ones did. For the outside, I used multiple paper stacks to give it the contrast that I wanted. After three layers (lime green, teal with black diamonds and plain white card stock) I then die cut the butterfly and also cut out of my Silhouette the "Thanks" quote on the front. The inside was much a repeat of the outside but I instead used black (my fav color for contrast) plain teal and white card stock with a quote from my quote book saying thanks.
Once complete it went to work headquarters and I was a happy camper of the over all look the card gave. I think it was one of my more sophisticated cards that I have made in a long time, or maybe it is the butterfly that I am in love with. I have used this butterfly in other cards but this particular one seems to call to me just a bit more.
Wednesday, October 10, 2012
Texas........Big Sky Country Stationary Set
I think out of all my cards that I have recently posted this one is a favorite. Living in Texas you find out that people are Texas bred and Texas proud. This card is part a set of cards that I made for a stantionary set. I have 11 cards and one box that I am going to decorate using some paint and some other things.
I have a few other states that I am going to try my hand at but if they don't work out the stanionary kit will be a Texas set of cards.
To make this I had to sort through a dingbat font and then I used my Silly to cut the shape in red, white and blue and then adding a star. It actually isn't a hard project it just takes some time to make sure that you get the cuts correct since you don't want the flag to be incorrect which it can be if you don't pay attention.
So what I did was cut out red, white and blue texas shapes from there I used a ruler and craft knife to cut up the shapes. From there I mounted everything to the white background and then added a star in the blue section as there is supposed to be. I had a hard time trying to decide if I wanted the star to but shaped like the state or if I wanted it to look as it does above. I picked option B and I must say it looks pretty darn awesome!
Now to move onto the box to put thsese in.
Tuesday, October 9, 2012
Vampire Snow White
As you can see I've made Snow White look like a vampire. I thought it was a perfect mood setter for this Halloween. Instead of an apple I put a bat although I could have used the apple but I decided not to. I backed this card with some Martha Stewart Halloween paper which was tombstones.
I'm getting better with the lettering delight cuts and using my Silly. Now if I could just figure out how to use SVG cuts on my machine. I think it may be a buy the software either way just one was is different than the other. Just not sure what to think on a whole about that.
I do so love Snow White....and her face was white as snow.
I'm getting better with the lettering delight cuts and using my Silly. Now if I could just figure out how to use SVG cuts on my machine. I think it may be a buy the software either way just one was is different than the other. Just not sure what to think on a whole about that.
I do so love Snow White....and her face was white as snow.
Saturday, September 29, 2012
Halloween Kyoto Kutie #2
This is the second version of my Kyoto Kutie that I did for Halloween. I used my Silly of course to do all the cutting for me, but I found this nice background image in my massive amount of cuts that I have for my Silly. The inside is basic though since the front is so involved. As you can see I put a spider web on the bun this time, I think it looks cool but I could see it looking like a hair net as well.....
Here's the inside of the card.
I just loved the paper that I used on the first card that I used it on the second card as another background and as the kimono for the Kutie to wear. Now what to make on a rainy Saturday afternoon while football is on?
Sunday, September 16, 2012
Get Well Soon Princess
So here's the card that I made my other niece since she hasn't been feeling all that well lately so I thought I would send her a card along with her sister's so that she would get a smile out of it. It's another princess this time Tiana, had to look that one up since I couldn't remember it off the top of my head. I do remember Madelyn wearing this same outfit in one of the photos from Disney.
I promised Madelyn a card with pink and purple, I wasn't too sucessful on the purple but I got the pink and I know she'll like the princess.
Cut from Lettering Delights, font from dafont.com.
Saturday, August 25, 2012
Birthday Dress Card
I must said I am most proud of this card for the moment since it took a lot of work to create the dress on the outside. I had to break out the Silly for the dress outside then I had to use my most hated item that I have...glitter, and then I used cake doilies to make up the bottom half of the dress. The paper on the front is flocked so it pulls in nicely all the different textures that are in play in this card. The inside I made a big effort to use another piece of the paper from the outside but also use the color of the glitter into the inside of the card. From there I just picked a font and a quote and printed it out on the printer. Oh! And cover up the top of the last doily I used a piece of silver ribbon. I plan on making a couple of these, maybe just in smaller sizes, the big one was nice but I can do more with a smaller image.
Saturday, June 2, 2012
Donut Know how Much to Thank You Notecard
I made this card for one of the System Accounts Management group, since they do so much for me. They probably get little appreciation from the university but I wanted to take a minute and thank them each personaly for all the work they have done for not only me but for the university as a whole. They keep us ticking whether or not people want admit it or not.
India's Bridal Gown
Here is my latest Bridal related card. This time it is a Sari (Saree, depending on you) along with some Arabic that says "Bride" as least according to the computer. A reliable source, no? Anyway, this was a tough one because there aren't a lot of pictures of Saris out there that I could work with. I finally did find a photo/drawing that I was able to use and tweak to make it work for me. The original version didn't have the flowing back piece (in pink) but that is the way that some of the Indian women I know wear their sari's "scarf" for lack of a better word. I blinged it up a bit with some gems that I got at M's to replace the squares that came out of the translation cut. I used an embossing folder to give the pink paper the gauzy looking I was attempting to get on it, I think it turned out okay but I had wished I had some fabric to try and make it look more realistic. Maybe on the next one I will try and find some scrap of fabric to try and use it on the pattern that I have made for this particular piece.
On the inside it says: "The perfect wedding dress fits you like your love fits your mate; Perfect in everyway. Congratulations
The quote is my own, and while putting the card together I came up with a couple of sayings I could use on cards but those will have to wait since it is time for.......GASC (Great American Scrapbook Convention)!!!! Money will be thrown around and new goodies will be gotten and more cards will be made.
Cheers!
On the inside it says: "The perfect wedding dress fits you like your love fits your mate; Perfect in everyway. Congratulations
The quote is my own, and while putting the card together I came up with a couple of sayings I could use on cards but those will have to wait since it is time for.......GASC (Great American Scrapbook Convention)!!!! Money will be thrown around and new goodies will be gotten and more cards will be made.
Cheers!
Monday, May 28, 2012
Untraditional Bride
Now I have watched the show Say Yes to the Dress from time-to-time and most of the dresses they pick out seem to suit their style and always making sure to check off traditional dress for traditional wedding. Me, I have never seen a show where someone comes in looking for something simply smashing in red, purple or Brandywine for a wedding dress and not the bride's maids.
They'll be having more in this genre of card since I have none made and since being sick I have been unable to work on cards as much as I would like to. This one took two days but that was with breaks and such.
Enjoy it! I know I do!
Sunday, March 18, 2012
Thank You Notecard
I made this card for a pair gals over in the Autism group that sent an e-mail Get Well Soon card. It was one of the nicest things that people have done for me since my first encounter with my foot and it having mad issues. Speaking of which, the same hole that is there is leaking but is crusty and looking way better. I'm managing it with the ointment that the doc prescribed to help with the healing, which is hopefuly working. Still have to work on those thank you notes for some others as well, but I've been busy with the nearly 24 hours of NCAA College basketball going on. March Madness has gotten into me and I barely have time to focus on cards. Like this one, I love the font I used, but sadly I think I should have maybe picked a different font, not sure.
Oh and I did sew the sew on the card, hence the different look of the letters, which is why I think I should have used a different font; something that sort of goes with the look of the sewing of the word. Either way I have received feedback to it's intended receivers and they just LOVE the card. I'm always glad when someone appreciates the work I do. Makes a sister proud to have such a "crafty" hobby.
Saturday, March 17, 2012
You're the Bee's Knees Thank You Note
Before: 
So here's my latest Thank You notecard, this one is for the nurse at my Podiatrist office. She seemed quite unhappy when Lupe, the receptionist, got a thank you note but she didn't. I told her that she would be getting on soon enough, and well here it is! I took one look at the bee and KNEW that this would be the perfect card for her. Kind of dorky, but then again I have my dorky moments more often then not.
It started with the bee cut file that I had for my Silhouette SD, I had a cute cut file with the saying "You're the Bee's Knees" but there seemed to be something wrong with the cute file and was freezing up the computer, so instead I used my own fonts from my font collection and made my own saying, to which I must say looks sooooo much better than what they had. I then dry embossed the background paper, which is purple with white cord center (photo kind of hard to tell the color) with a Cuttlebug embossing folder, hence the white hints on it. Hopefully purple is a color you like Maria because it was a hard to pick a color to coordinate with the yellow of the bee. Then I took a white pen to mark out the edges with and that seemed to complete it. I'm still debating on the ribbon at the top, so there may be another photo with a ribbon on it. You know what? I'm thinking I'm going to do the ribbon.
After:
So here's my latest Thank You notecard, this one is for the nurse at my Podiatrist office. She seemed quite unhappy when Lupe, the receptionist, got a thank you note but she didn't. I told her that she would be getting on soon enough, and well here it is! I took one look at the bee and KNEW that this would be the perfect card for her. Kind of dorky, but then again I have my dorky moments more often then not.
It started with the bee cut file that I had for my Silhouette SD, I had a cute cut file with the saying "You're the Bee's Knees" but there seemed to be something wrong with the cute file and was freezing up the computer, so instead I used my own fonts from my font collection and made my own saying, to which I must say looks sooooo much better than what they had. I then dry embossed the background paper, which is purple with white cord center (photo kind of hard to tell the color) with a Cuttlebug embossing folder, hence the white hints on it. Hopefully purple is a color you like Maria because it was a hard to pick a color to coordinate with the yellow of the bee. Then I took a white pen to mark out the edges with and that seemed to complete it. I'm still debating on the ribbon at the top, so there may be another photo with a ribbon on it. You know what? I'm thinking I'm going to do the ribbon.
After:
Wednesday, March 14, 2012
Thank You
Diva Card
Friday, March 2, 2012
Get Well Soon Ma!
Here is the "Get Well Soon" card that I made for the mother figure. She has been hinted at me for days about a get well soon card from me, so I spent the better part of yesterday (3/1/2012) working on this card. I think it turned out much more awe inspiring than what I had originally planned. I had done something similiar for someone at work, but the larger butterflies seem to really make the card pop, I'm going to try again this time on a smaller card and see if I can get the same effect going.
Building my inventory for that craft show I'm going to go to one day soon, and see if I can peddle my wears there.
On a side note, I am thinking of selling my Cricut and carts since I rarely if at all use it any more. That will require much more thought but it is tumbling in the back of my mind. I know Julie would love some of the carts that I have and the only down side is that I have them linked to my Gypsy. Guess I should have held off on that. Oh well, I'll figure something out if I do decide to sell it.
Thursday, March 1, 2012
More......Hello/Goodbye
Sunday, February 26, 2012
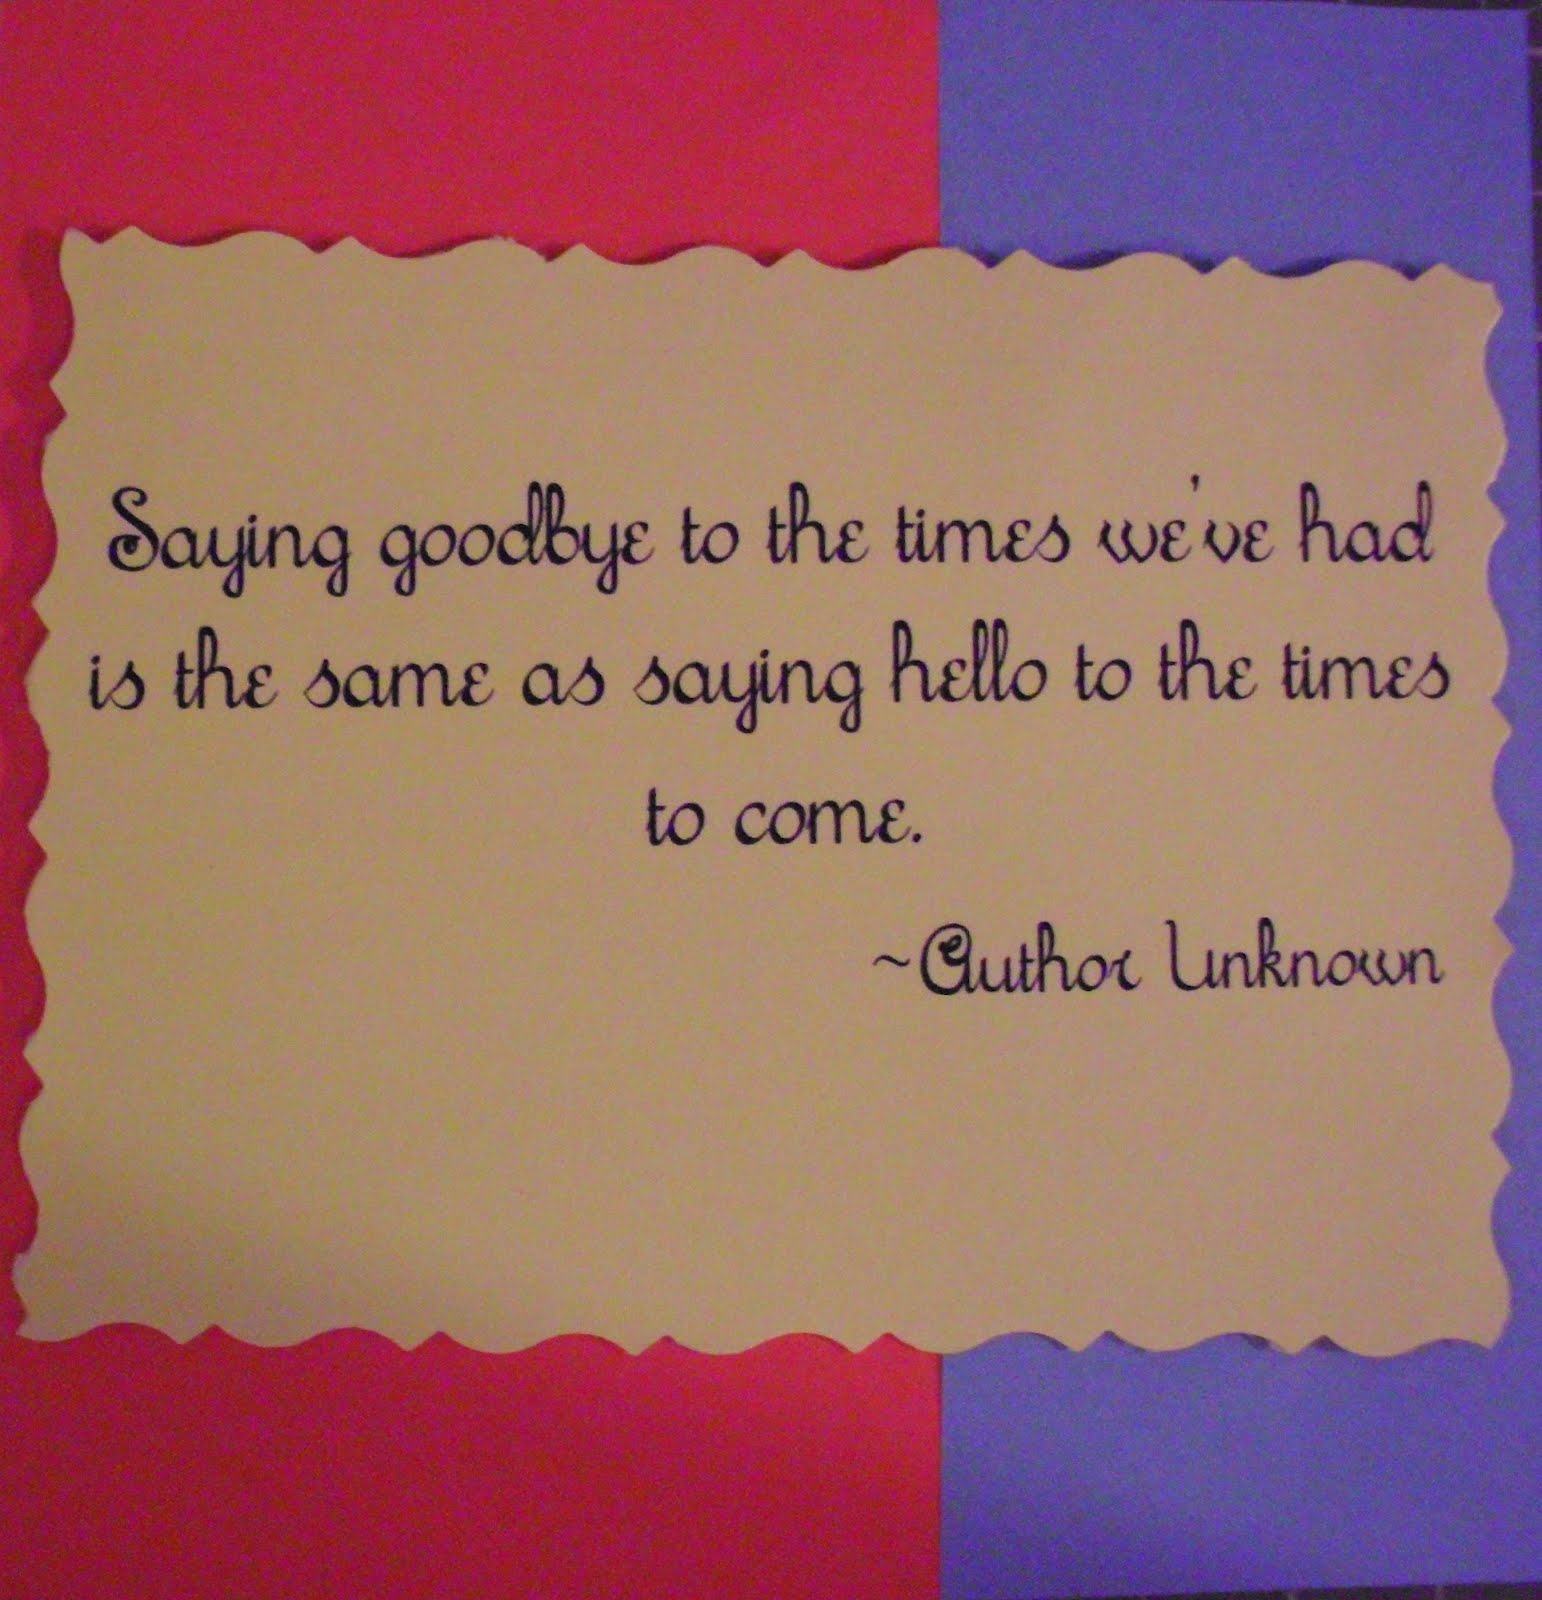
Hello/Goodbye Cards
I made these cards after completing another card with an airplane on it with "Congrats" on the inside. For some reason the airplane and bird made me think of start of something new and with the changes that have been happening in my life, I thought the saying on the inside (which was one of my own design) was pretty cool for a card with an airplane or bird. I of course used my faithful Silly on the cuts, even the letters on the outside but from that point on it was all me.
I'm trying hard to get a stack of cards together so that maybe one day I can sell what I have at a craft fair or maybe on etsy.com if I could get some photo skills so that the cards look good.
On another note, I had my foot surgery and I'm off for the next 2 weeks or so, so hopefully things will be okay while I am gone. This also gives me time to get caught up with reading since I'm so behind it isn't funny. Sad that I am that behind on read when I could so be taking lunch breaks and reading.
Been to try and orgazine all of the paper that I have and so far things are going slow but they are moving in the right direction. Julie brought out a plastic container that I must say fits perfectly in my paper sort from before, now I just have to alter it by taking out somce of the shelves, lucky thing is that they aren't glued or anything together, just little clips. I think once I get up enough energy I'm going to try and move it out so that I can have it close by and move the cart holder in that place instead. I got these story boxes at Target for like 7 bucks and they were wel worth it. They hold the stacks just perfectly, now to decide if I want one more or not. I'm thinking yes just so I can have some space in the other two since they are packed pretty tight.
Tuesday, February 21, 2012
Steampunk Hello Card
Here is my homage to steampunk in the form of a "Hello" card. I've become obessed with the dressform with wings and since I made some Valentine's Day cards using that idea I decided that I could carry it over into another type of card. I found that the hardest part of the card was the quote on the inside. I've never really taken notice of quotes and such but I've found there aren't that many quotes or sayings out there that say something about "hello". Most of the quotes and sayings were so stupid they weren't even worth reading. But I did find one in the end and with that the end of the card came.
It's a semi-basic card but I just love how I added a dress to the dress form in the form of vellum and blinged it out with some crystals on the dress.
Sunday, February 19, 2012
A Vintage Birthday
So I made this card as a commission for someone and I think it turned out wonderfully. I wasn't sure what direction to take with the card being as there were so many options given to me, but for some reason this bike called to me for this card. Between the drama of Big Guy passing and attempting to lead a normal life, I managed to put this card together. I thought it wasn't up to my normal standards but when I showed Mom she said I would have nothing to worry about since it rocked.
All of the paper used on this card came from my stash so I'm getting really good at finding paper for the cards that I wish to make. You just never know how much cool paper you have until you stop yourself from buying a whole stack based on just a couple of pages that you like.
I think I could spend days upon days sorting through all the paper I have and putting it into groups that would better help me make cards with. I pull out a paper and have an idea for it but then pull out another piece and the idea goes in a whole different direction. *sighs* the life of a card maker.
Hopefully the buyer and the receiver of the card will like it as much as I do.
Monday, February 13, 2012
Up, Up and away.....Congrats Card
I made this card using the plane I used in one of the Valentine's Day cards I was commissioned to make. I thought that I wanted to do something a bit different and decided to cut the airplane out of white paper and then used brown marker to color it in, along with adding stripes in green, yellow and orange. I used SEI's En Route paper stack for the clouds that is on the front and inside of the card. I used a font that I thought would look good with the airplane and cut it out in orange. The inside had a quote I thought went with the theme of the card.
I just love the way this one turned out. It isn't as big as the other one I made for Valentine's Day but I think the size is just fine.
Saturday, February 11, 2012
Love is in the Air
I made this card for one of my mom's friends. Her Valentine loves model airplanes and such and I thought this was the most perfect theme I could go with. I was able to find the "Up in the Air" on my Silly and the plane from there as well. After I'm not sure how long of writing quotes and such for Valentine's Day cards, I found what I thought would be the best quote for the inside
Subscribe to:
Posts (Atom)